
Taking screenshots on Mac is very easy. There are many ways to capture your screen. Whether you want to save a full screen or just a part, Mac provides tools to help. This guide will explain all the methods step-by-step.
Why Take Screenshots?
Screenshots are useful. You can save important information, share what you see on your screen, or keep a record. They are also helpful for creating tutorials or guides.
Basic Screenshot Shortcuts
Mac offers simple keyboard shortcuts for taking screenshots. Here are the main ones:
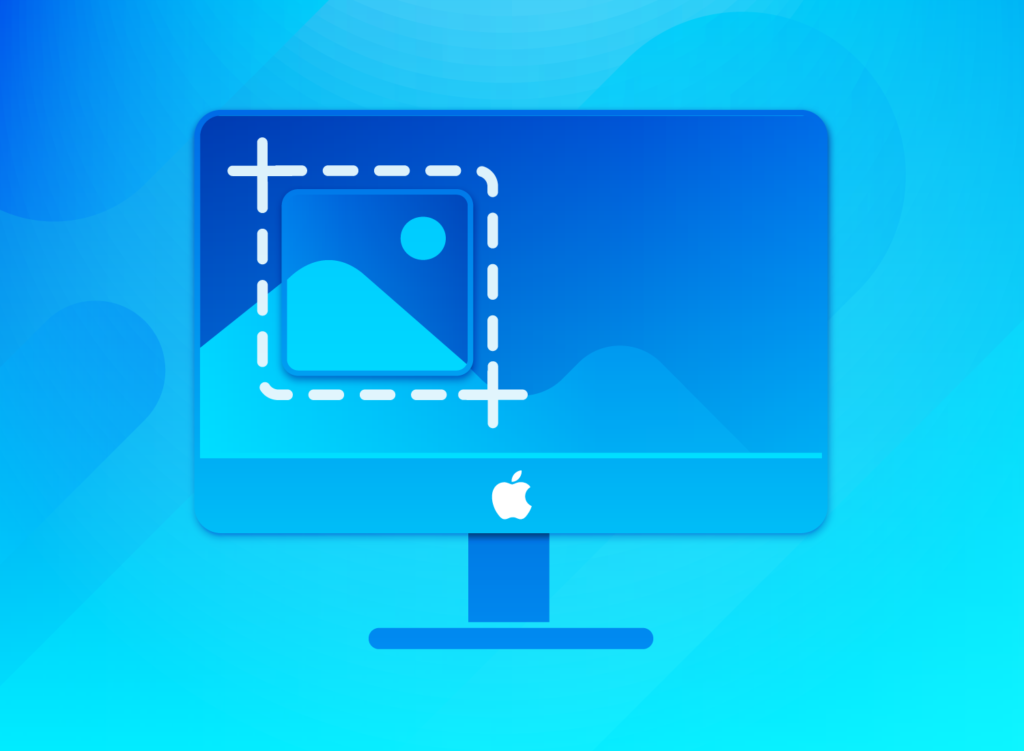
- Capture the Entire Screen:
- Press
Shift + Command + 3. - The screenshot will be saved to your desktop.
- Capture a Selected Portion:
- Press
Shift + Command + 4. - Your cursor will change to a crosshair.
- Click and drag to select the area you want to capture.
- Release the mouse button to take the screenshot.
- Capture a Specific Window:
- Press
Shift + Command + 4, then press theSpacebar. - The cursor will change to a camera.
- Click on the window you want to capture.
- The screenshot will be saved to your desktop.
Using the Screenshot App
Mac also has a built-in Screenshot app. It provides more options for taking screenshots. Here’s how to use it:
- Open the Screenshot App:
- Press
Shift + Command + 5. - A small toolbar will appear at the bottom of the screen.
- Toolbar Options:
- Capture Entire Screen: Click the first icon.
- Capture Selected Window: Click the second icon.
- Capture Selected Portion: Click the third icon. Then, drag to select the area.
- Recording Screen:
- The toolbar also has options to record your screen.
- Record Entire Screen: Click the fourth icon.
- Record Selected Portion: Click the fifth icon. Then, drag to select the area.
- Additional Options:
- Click the
Optionsbutton on the toolbar. - You can choose where to save the screenshot, set a timer, and more.
Editing and Annotating Screenshots
After taking a screenshot, you can edit and annotate it. Mac’s Preview app is great for this. Here’s how:
- Open Screenshot in Preview:
- Double-click the screenshot to open it in Preview.
- Editing Tools:
- Use the toolbar to crop, resize, or rotate the image.
- You can also adjust the colors and add filters.
- Annotating Tools:
- Click the
Markuptoolbar button. - You can add text, shapes, and lines.
- Use the highlighter to emphasize important parts.
- You can also add your signature.
Saving and Sharing Screenshots
Once your screenshot is ready, you can save and share it easily.
- Saving:
- Screenshots are usually saved to your desktop.
- You can change the default save location in the Screenshot app’s
Options.
- Sharing:
- Use the Share button in Preview to share via email, messages, or social media.
- You can also drag and drop the screenshot into other apps.
Advanced Screenshot Tips
Here are some advanced tips to improve your screenshot experience:
- Changing Default File Format:
- By default, screenshots are saved as PNG files.
- You can change this to JPG, TIFF, PDF, or GIF.
- Open Terminal and type:
defaults write com.apple.screencapture type jpg. - Press
Enter, then type:killall SystemUIServerand pressEnteragain.
- Using Grab for Screenshots:
- Grab is another built-in app for taking screenshots.
- Open
Applications, thenUtilities, and selectGrab. - Grab provides similar options to the Screenshot app.
- Third-Party Apps:
- There are many third-party apps available for taking screenshots.
- Some popular ones include Skitch, Snagit, and Lightshot.
- These apps offer more features and editing tools.
Troubleshooting Common Issues
Sometimes, you may face issues while taking screenshots. Here are some common problems and solutions:
- Screenshots Not Saving:
- Check the save location in the Screenshot app’s
Options. - Make sure you have enough storage space on your Mac.
- Shortcuts Not Working:
- Go to
System Preferences, thenKeyboard, and selectShortcuts. - Make sure the screenshot shortcuts are enabled.
- Editing Issues:
- If you can’t edit your screenshots, try opening them in a different app.
- You can use apps like Preview, Photos, or third-party editing tools.
Conclusion
Taking screenshots on a Mac is simple and versatile. With keyboard shortcuts, the Screenshot app, and Preview, you can capture and edit screenshots easily. Whether you’re saving information, creating tutorials, or sharing moments, these tools will help you. Practice using different methods to find what works best for you. Happy screenshotting!